Cloudflare has a free plan that has enough features to serve your basic WordPress site. It is completely free. Cloudflare is used by 81.2% websites of the total websites in the world. WordPress is used by 42.5% of all websites across the globe. If we combine these both Softwares, We can make an awesome website.
The Cloudflare free plan has many advantageous benefits.
Main benefits of Cloudflare Free App:
Free CDN Server
Free SSL certificate
Caching
Fast and Free DNS Server
Basic Level Bot Fight Mode
Use Free Apps
Free Cloudflare plan saves your WordPress site from hacking and DDoS attack.
Cloudflare gives you a free, fast DNS server and firewall for your site. Many Webhosting companies are changing money for DNS servers and SSL certificate. Many DNS serves are slow in comparison to the Cloudflare DNS server. Cloudflare gives free CDN and caching services free of cost. Cloudflare has 194 data centers across the globe to serve your website.
Cloudflare gives a free SSL certificate to your WordPress site.
Cloudflare firewall protects you from DDOS attacks. By Making Custom IP firewall rules, You can block your sites from specific malicious IP addresses machines.
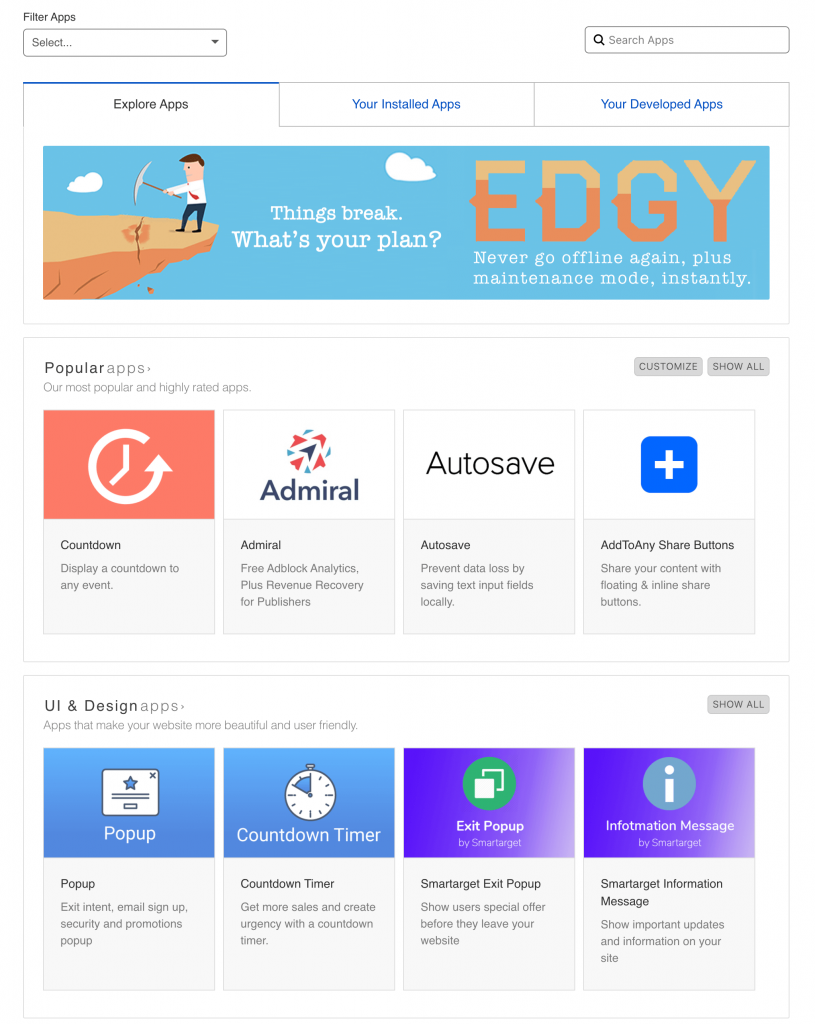
You can check your site’s unique visitor statistics with the country information. You can install free Cloudflare apps that are very useful. Many Apps are also paid.
Many WordPress developers are often confusing between get_home_path() and ABSPATH. Same way, They are confused between get_home_url() and get_site_url(). Both codes give the same result in normal WordPress installation. But both codes give different results in a special WordPress installation site where WordPress core files located at a different place than web site’s root folder.
Here, I am going to explain what is difference between get_home_path() and ABSPATH by taking an example. To understand it I have made a demo WordPress site in which I have made a different WordPress code sub-directory in subfolder /wordpress. To understand how to move WordPress code into a different sub-directory you should follow the steps described in https://wordpress.org/support/article/giving-wordpress-its-own-directory/#method-ii-with-url-change. I have given a different WordPress sub-directory to my WordPress site. I have used Method 2 described in the given link.
I have added below code in the wp-content/mu-plugins/test.php file:
Home Path: //Users/prashant/Local Sites/wpsepdir/app/public/
ABSPATH: /Users/prashant/Local Sites/wpsepdir/app/public/wordpress/


Home URL: http://wpsepdir.local
Site URL: http://wpsepdir.local/wordpress
The get_home_path() gives root path of WordPress site. The `ABSPATH` gives the path of subdirectory where WordPress codes reside.
The get_home_path() gives the URL where the user can visit the site. The get_site_url() gives URL where the WordPress codes reside.
Here, Home word refers to site’s home. The Home is root folder of the site. Whereas site and ABSPATH refers to WordPress subdirectory where WordPress core code exists.
Being a developer, We are spending a lot of time in debugging besides writing code. If we can debug with speed, We can be more productive in our development. In this article, I would like to show you debugging tips and tricks.
Error-free code
We are generally debugging when we produce erroneous code. First, we should take care that we should not produce any buggy code. If we write an error-free code, We will not face a question of debugging.
There are three ways to prevent bugs:
Follows coding standards
Use simple expressive variable/function names
Write single-purpose short functions
To write the error-free code, I personally insist to follow any coding standard. I personally prefer WordPress code standards. To check whether we are following code standard perfectly, We should use code standard checking tools. I personally use PHP Code Sniffer with WordPress Coding standard. The coding standard generates the consistent formation of the code.
Try to use simple and fully qualified function names. Instead of naming $p, We should make the function name $post. The $post name suggests that it holds the post object.
Break/Divide a code into more functions instead of writing all code in a single function. A Function should be written single purpose, and It should be as short as possible. An error can’t be hidden in a short function. An error can be hidden in a lengthy function code.
Code Linting
Break/Divide a code into more functions instead of writing all code in a single function. A Function should be written single purpose, and It should be as short as possible. An error can’t be hidden in a short function. An error can be hidden in a lengthy function code.
Advanced debugging with breakpoint
Do advanced debugging by using the breakpoint with the XDebug and Integrated Development Environment IDE Editor like VSCode. A Breakpoint pauses the execution and allows to inspect the code. For how to use XDdebug with the VSCode, Please visit the https://github.com/felixfbecker/vscode-php-debug
VSCode with Xdebug breakpoint
When control comes to the breakpoint, the execution pauses and allows us to inspect the code. We can do advanced debugging with breakpoint using the chrome dev tool. For how to use breakpoint with the chrome dev tool, Please visit the https://developers.google.com/web/tools/chrome-devtools/javascript/breakpoints
WP-Config constants
When you are developing in WordPress, Please make sure that below the constant value set in the root/wp-config.php file.
WP-CLI is the WordPress Command line tool. WP CLI helps the user like us to perform WordPress administration tasks and Scaffolding. For more detail of the WP CLI, Please go to the WP CLI handbook.
In this article, I will show how to install the WP CLI in Windows.
There are many situations when you want to change the login logo of WordPress login. When you deliver your website, Your client requests to use its logo instead of the WordPress default logo. Many Developers achieve this task by changing the stylesheet and replace the default logo. But It is not an appropriate way. You have to copy and paste the following PHP code to WordPress active plugin file or in the function.php file of your currently active theme.
function custom_prefix_my_login_logo() {
    echo '<style type="text/css>
            h1 a {
                background-image:url('.get_bloginfo('template_directory').'/images/login-logo.gif) !important;
            }
        </style>';
}
add_action('login_head', 'custom_prefix_my_login_logo');
Taxonomy makes groups of posts. Taxonomy enables you to a group of the post of similar characteristics.
In WordPress, Mainly two types of taxonomies are used. Both are inbuilt taxonomies.
Tags
Categories
Categories are Hierarchical Taxonomy, Whenever Tags are Non-Hierarchical Taxonomy.
Custom taxonomy
Many People know that WordPress is a blogging platform, But WordPress provides all facilities that one CMS framework provides. WordPress gives the facility to make custom taxonomy that enhances WordPress as a CMS framework. To make custom taxonomy WordPress has register_taxonomy() function.
The name of taxonomy. Taxonomy should contain only alphanumeric characters and underscore. .All letters should be in lower case. Taxonomy name character length is less than 32 characters.
$object_type (array/string)(required)
The name of the post type for this taxonomy. $object_type can be a built-in post or custom post type. WordPress default post types are post, page, revision, or nav_menu_item. If we want to associate this custom taxonomy $object_type parameter has a custom post type name.
$args (array)(optional)
An array of taxonomy setting array.
Arguments:
label (string)(optional) – The Plural name of this taxonomy. labels (array)(optional) – An array of labels. For array labels, We consider hierarchical taxonomy as categories and non-hierarchical taxonomy as tags. If labels array is not passed or empty labels array passed, name element of labels array is set to label args element and sigular_name element of labels array is set to taxonomy name.
name – Plural name of the taxonomy
singular_name – Singular name of the taxonomy.
menu_name – The text displayed in the menu. If menu_name is not given, menu_name is to name value.
all_items – All Items Text.
edit_item – Edit Item Text
view_item -View Item Text
edit_item – Edit Item text
view_item – View Item Label
update_item – Update Item Text
add_new_item – Add new Item Text
new_item_name – New Item Name Label Name
parent_item – Parent Item Label. parent_item is only for hierarchical taxonomy. Default is Parent Category
parent_item_colon -same as parent item but with colon, default is same as parent_item.
Many WordPress developers would like to become WordPress core contributors. To be a WordPress core contributor, You should find the WordPress core track tickets, which required a patch on the https://make.wordpress.org/core/reports/.
Most of the WordPress developers are familiar with git, but the WordPress core patch can be made by svn in general. However, You can make a patch by git by below steps in windows
Git download and install (https://git-scm.com/download/win)
Nodejs download and install (https://nodejs.org/en/download/)
Run the command git clone git://develop.git.wordpress.org/ wordpress-develop in command line.
Run the command `cd wordpress-develop` in command line.
Run the command ` npm install ` in command line.
Run the command ` npm run dev ` in command line.
Install wordpress in the wordpress-develop/src folder and make your changes
Run the command ` git diff > 30000.diff ` in command line. It will create the 30000.diff file.
DropzoneJS is a javascript library that helps to upload multiple files using AJAX. DropZoneJs gives Drag and Drop File Upload Functionality. There are common questions to us as web-developer how we allow users to allow upload multiple files. DropZoneJs is also previewing images thumbnail in the upload preview area. DropZoneJs is compatible with Bootstrap upload file UI. We can additionally restrict uploading only a single file upload to specific numbers of file upload.
DopzoneJS is easy to implement for a newbie PHP developer.
Benefits of DopzoneJs:
Easy to implement
Highly Customizable
Easy to custom configuration
Not Depend on JQuery
Lightweight
Drag and Drop File Upload
Integrate or Implement DropzoneJS in Php:
To implement dropzone we need dropzone js file and css files
Copy download folder from that DropZoneJs project folder DropZoneJs and paste it into our project folder. In our case this our project folder is upload_demo.
Rename that download folder as DropZoneJs in our project folder.
Now we have to include javascript and CSS in our webpage file: